How to Build an Assessment Using the Test Library
Hazel Hernandez
Guide
May 22, 2026
6 min read

Welcome to Ref Hub! If you want to evaluate your candidates' skills quickly using professionally designed benchmarks, starting from our pre-built library is the fastest way to get launch-ready. Ref Hub features over 300 expert-built assessments across 10 categories and hundreds of roles.
Follow this step-by-step guide to learn how to browse, select, and build your first assessment using the Test Library.
Step 1: Log In to the Ref Hub Portal
- Go to the Ref Hub login page: portal.refhub.com.au/auth/login.
- Enter your registration credentials to sign in.
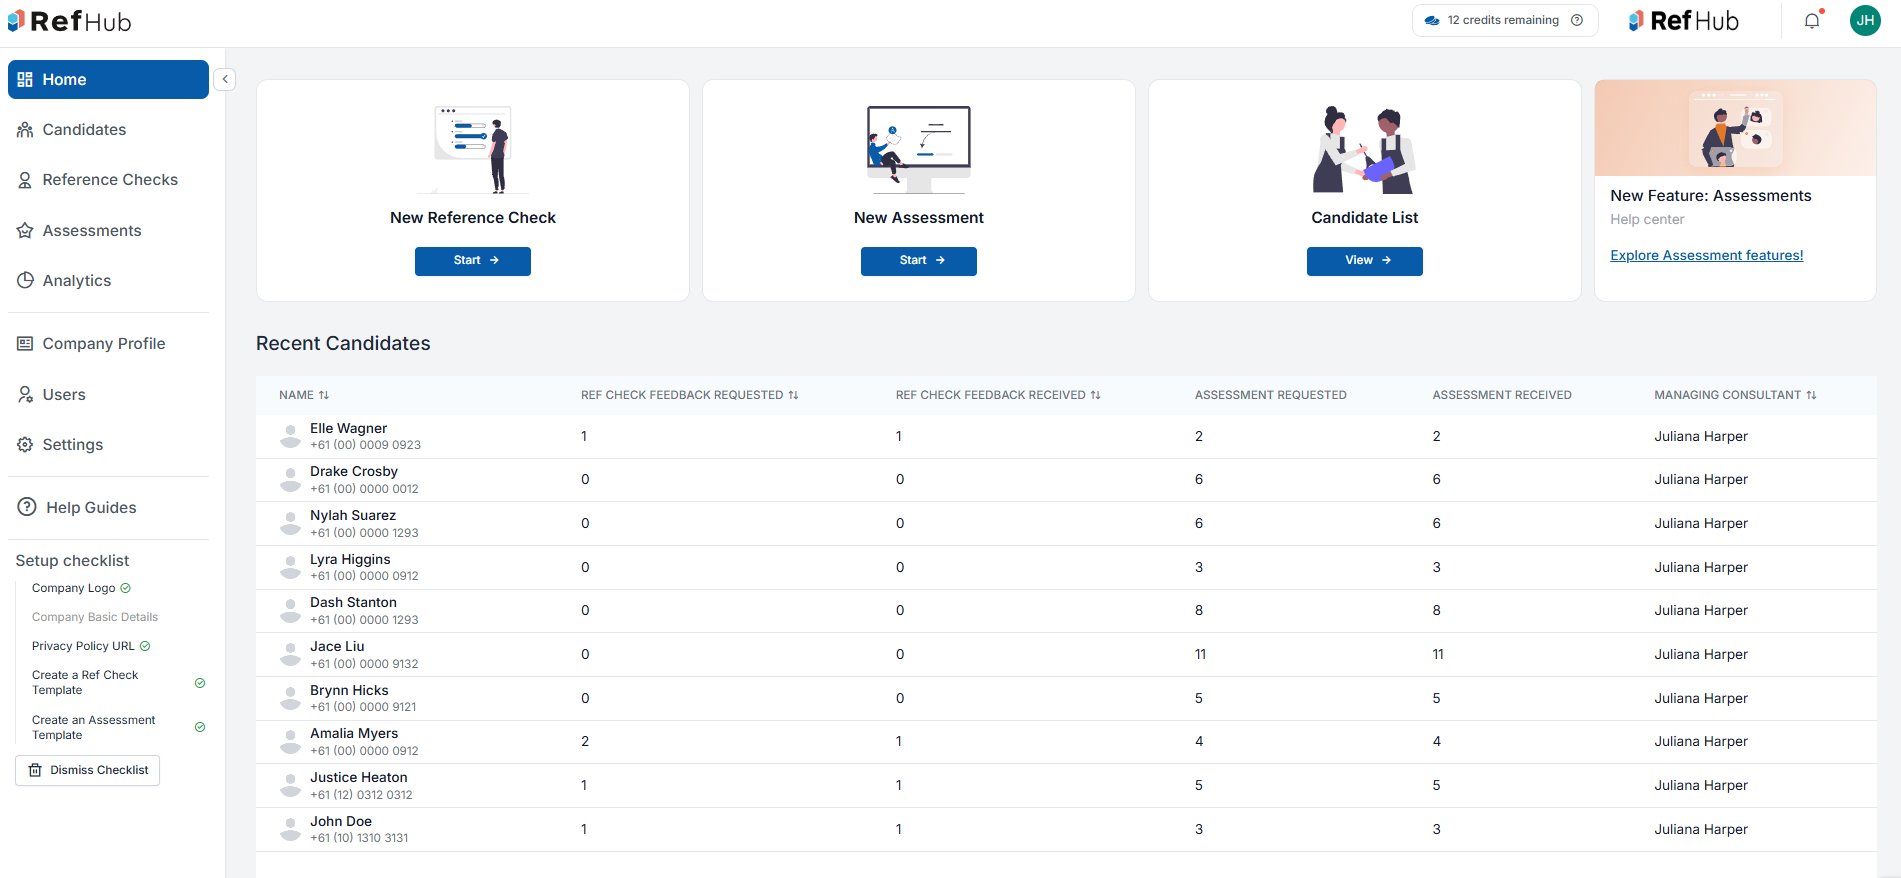
- Once logged in, you will be taken to your main dashboard.
Step 2: Navigate to the Assessments Section
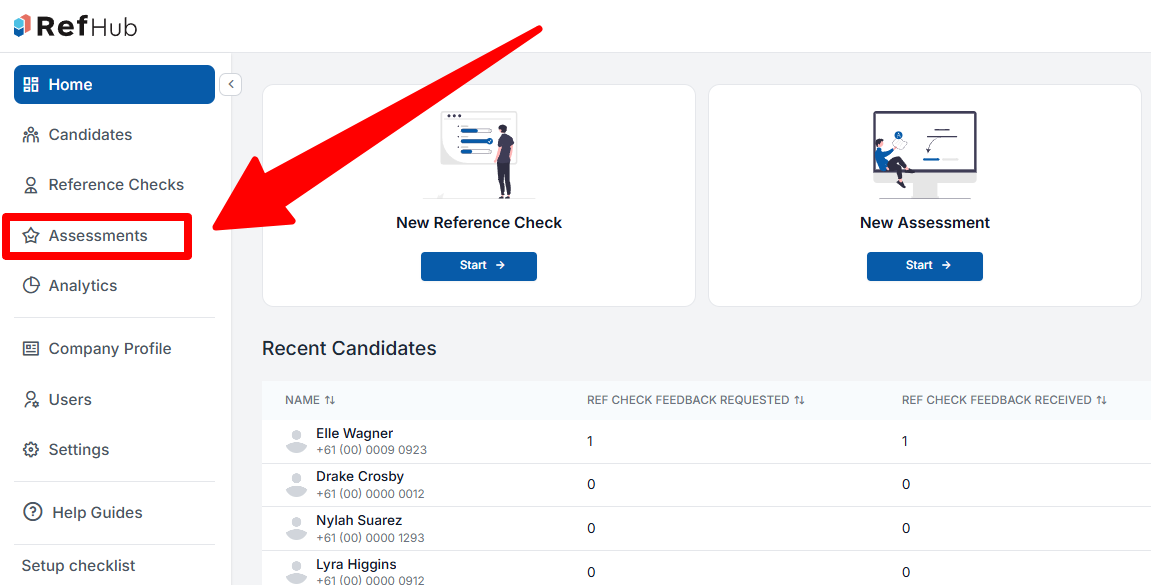
From your dashboard, you have two easy ways to access the assessment creator:
- From the Sidebar: Click on Assessments in the left-hand navigation menu.
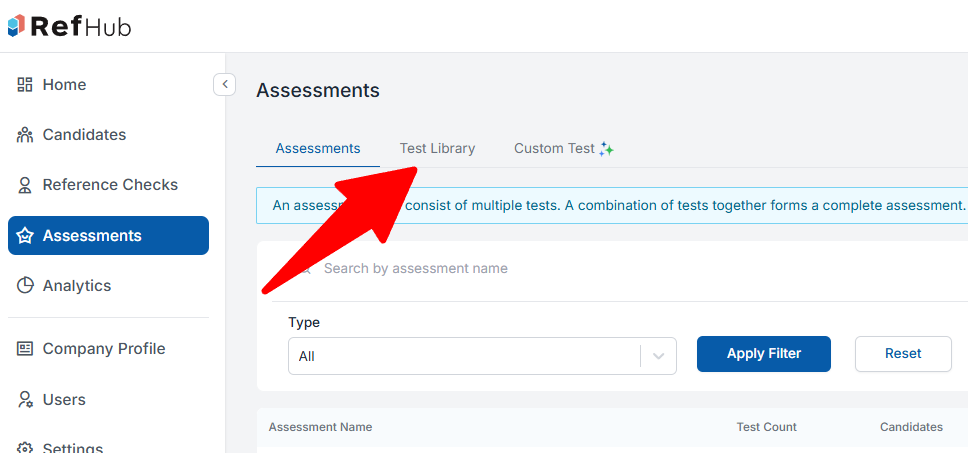
Once the Assessments page opens, click on the Test Library tab at the top of the screen to view all available pre-made tests.
Step 3: Browse, Search, and Filter

The Test Library offers an extensive selection of tests. To find the exact evaluation you need, you can use the search bar or the quick filters:
- Search Bar: Type keywords directly into the Search by test name field (e.g., "Excel" or "Workplace Safety").
- Filter by Category: Click the Select Category dropdown to view specific areas like Compliance & Safety, Administrative & Office Skills, or Cognitive & Aptitude Tests.
- Filter by Difficulty Level: Filter options by Beginner, Intermediate, or Advanced to match the seniority of the role.
- Click Apply Filter to update your list.
Step 4: Preview or Add Your Test
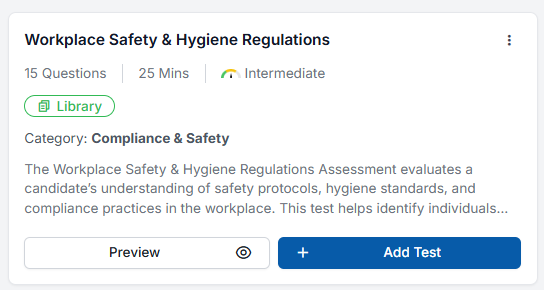
Each test card displays key details at a glance, including the number of questions, estimated duration, difficulty level, and a brief description.
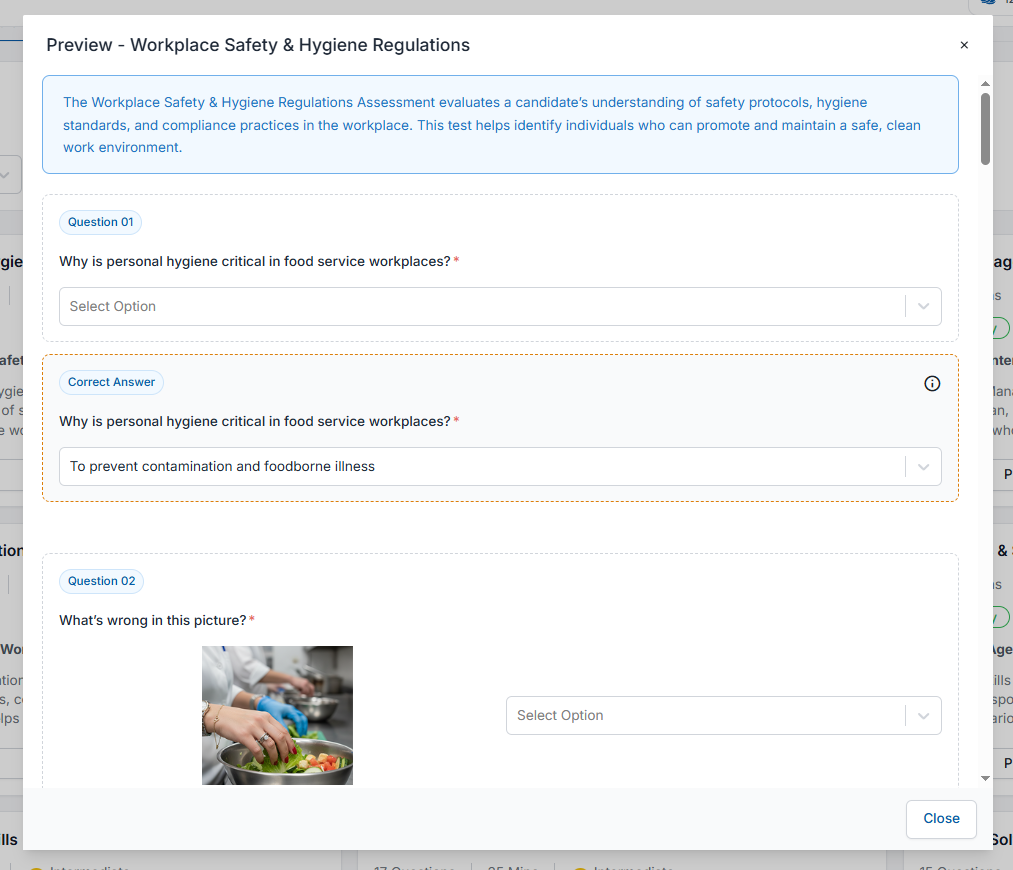
- To Preview a Test: Click the Preview button (with the eye icon). This opens a popup window where you can view sample questions, look over image-based scenarios, and review the expected correct answers to ensure it fits your criteria. Click Close when you're done.
- To Add a Test: Once you have found the perfect test, click the blue + Add Test button on the card.
Step 5: Name and Confirm Your Assessment
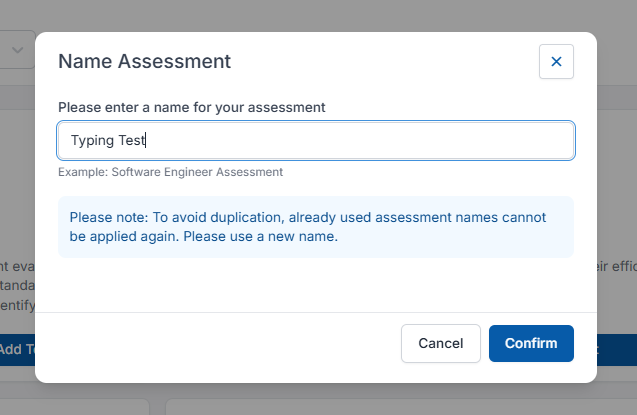
After clicking Add Test, a Name Assessment modal will pop up.
- Enter a recognizable, clear name for your assessment (e.g., "Customer Support - Test 1").
- Note: To avoid duplication, you cannot reuse an assessment name that has already been taken in your account. Please ensure it is unique!
- Click Confirm.
Step 6: Review Your Selected Assessment
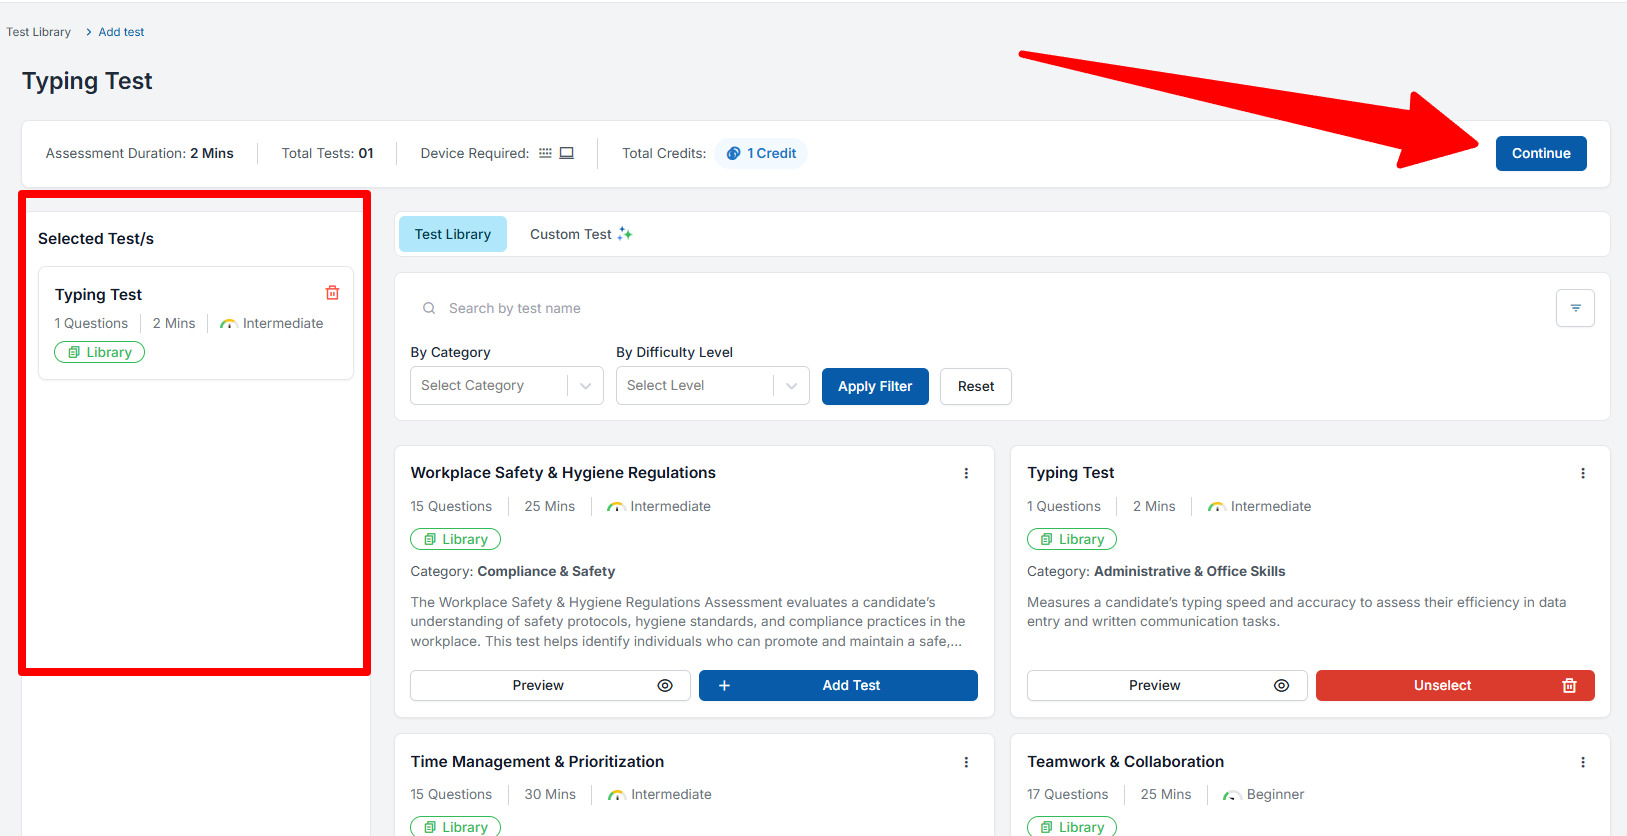
Your test has now been successfully added to your active builder workspace.
- Look at the left-hand side of your screen: you will see a column titled Selected Test/s containing your newly added test card.
- At the top of the workspace page, you can see a live summary of your total assessment configuration, including the Assessment Duration, Total Tests included, and the Total Credits required to deploy it.
- If everything looks correct, click the blue Continue button in the top right corner to proceed to assigning candidates!
Step 7: Arrange and Finalize Your Tests
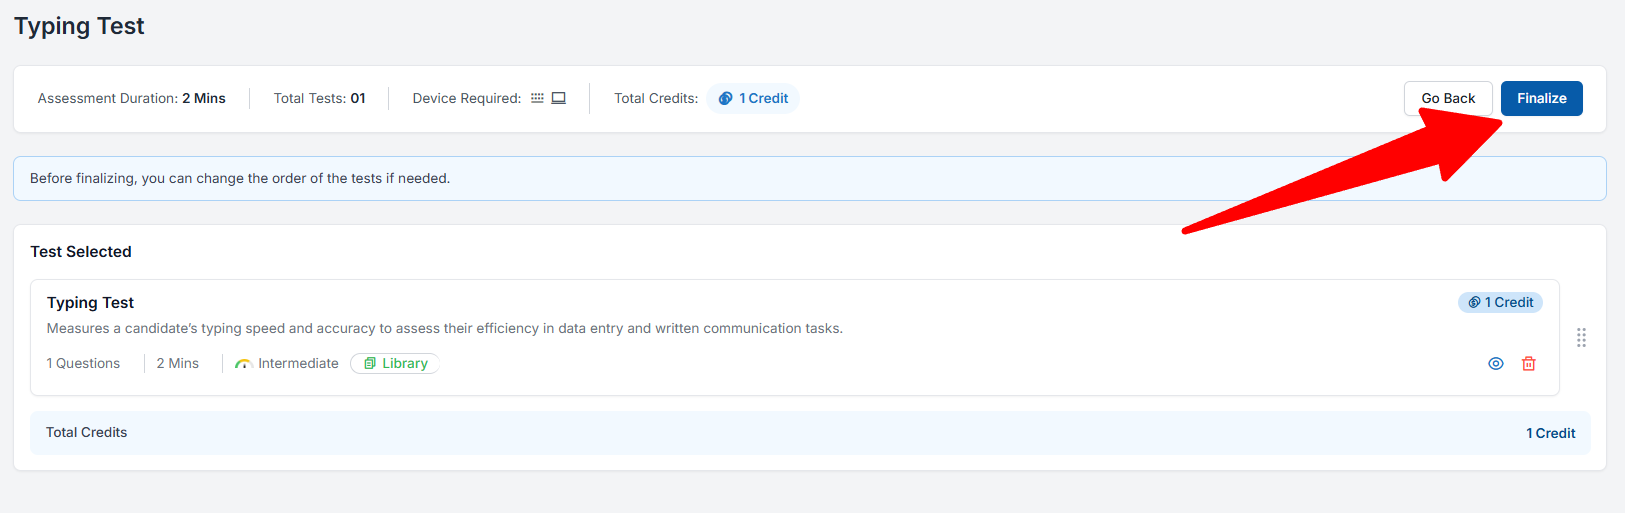
After clicking Continue, you will be taken to the final review screen where you can manage the layout of your assessment before locking it in.
- Rearrange the Test Order: If your assessment contains multiple tests, simply use the drag-and-drop handles (the grid icon on the far right of the test card) to arrange them into your preferred sequence. Candidates will complete the tests in the exact order you set here.
- Review or Remove: You can still use the Preview (eye icon) to do a final check of the questions or click the Delete (trash bin icon) if you decide to remove a specific test from the package.
- Proceed: When you are satisfied with the test configuration, click the blue Finalize button in the top right corner.
Step 8: Configure Your Pass Marks
Once you click Finalize, a modal window titled Select the pass mark will appear. This allows you to set the performance benchmarks required for your candidates.
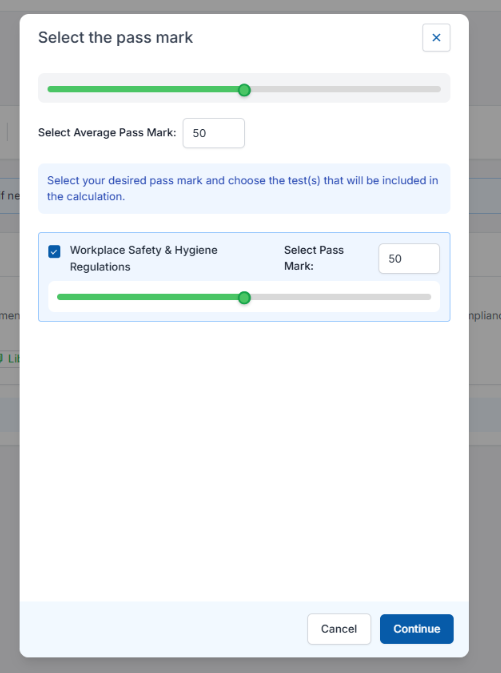
- Set the Average Pass Mark: Use the top slider or type a value directly into the text box to establish the overall average score needed to pass the entire assessment package (the default is set to 50).
- Adjust Individual Test Pass Marks: If your assessment includes multiple components, you can check or uncheck individual boxes and adjust the sliders below to set unique passing thresholds for each specific test topic.
- Click the blue Continue button to save your benchmarks.
Step 9: Success! View Your Active Assessment
Your assessment is now fully built and ready to deploy!
- You will automatically be redirected back to the primary Assessments dashboard tab.
- Your newly built assessment will appear at the top of your record table.
- From this screen, you can see a quick summary of the Test Count, monitor how many Candidates have been invited, view the real-time Average Score, and track Allocated Credits.
When you are ready to send it out to prospective hires, simply click the View ↗ link under the Actions column to begin inviting candidates!
Related Articles


English (Australia)